Rebuilding
the Yamaha
Super Tenere 750
The Rebuild
So my Super Tenere started its life with me after being in my fathers for only a short time. With my fathers intension to fix it up unfortunately he became very ill and passed away. So I inherited the bike….. and with only 28000km on the clock it was in a bad way, purely out of neglect from the previous owner. With nearly every rubber part including the tires badly perished and falling to pieces it was clear it had been left to rot in the sun. The summer here in the Algarve is much more damaging than the winter due to the amount of sunshine and how intense the sun can get.
So I fixed it up as best I could to get it moving, at least I can now iron out the problems. I used it for commuting and some short rides at the weekends as it was still very unreliable. My main issue was the carbs, but once I got them sorted with a rebuild kit each I got more confident with the bike.
I slowly started riding further and further and even taking in some easy dirt roads, finally deciding to ride back to the UK. And it was fine! So over the following years I kept up the maintenance improving on her all the time and riding further each time. I regularly rode to France and the Pyrenees and onwards to Switzerland and Germany. Also while back home my off road skills grew, meaning the old girl took me more into the bush, showing me the real Algarve.
2019 she started showing some more serious signs of wear and tear with engine troubles that were beyond my skills. So she went to a proper mechanic who got the engine running like a dream, and with that I decided it was time she had a bit of cash spent on her. It was time to lose those rusty patches and dodgy paint job, broken fairings and odd nuts and bolts. I was happy with the ratty bike look before, but now she deserves better and make my late father proud.

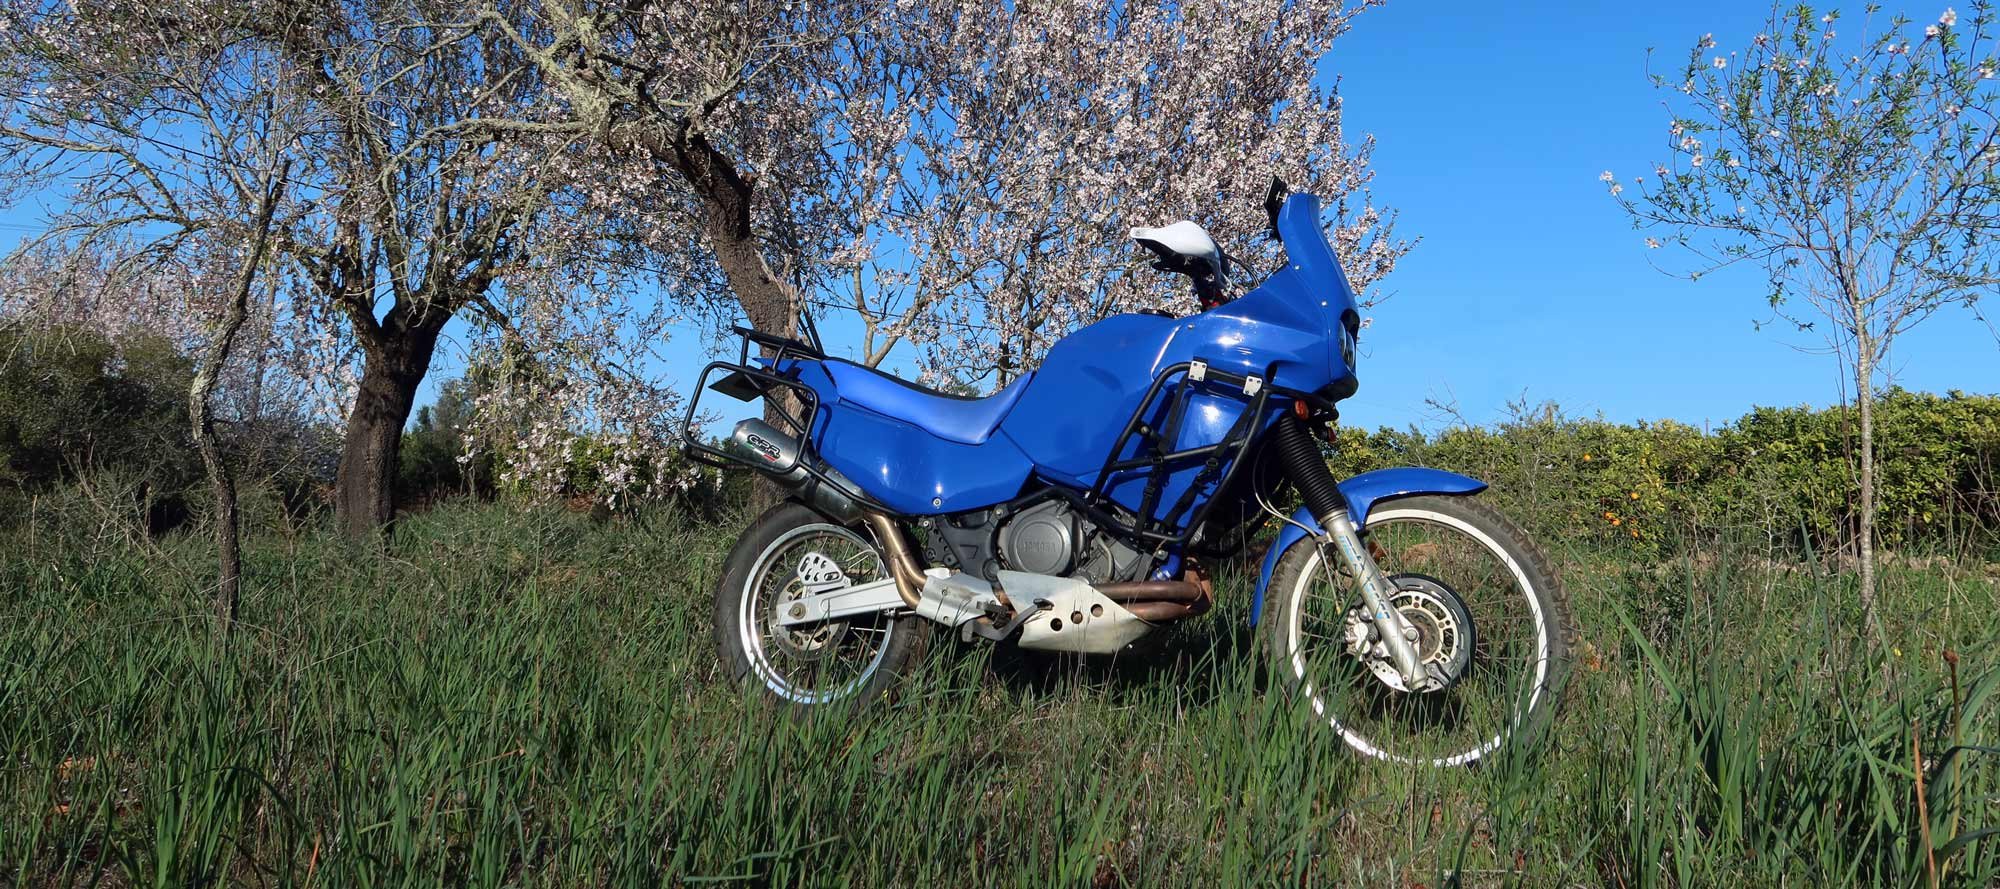
The Super Tenere 750
Prior to the total rebuild
The
Mock Up
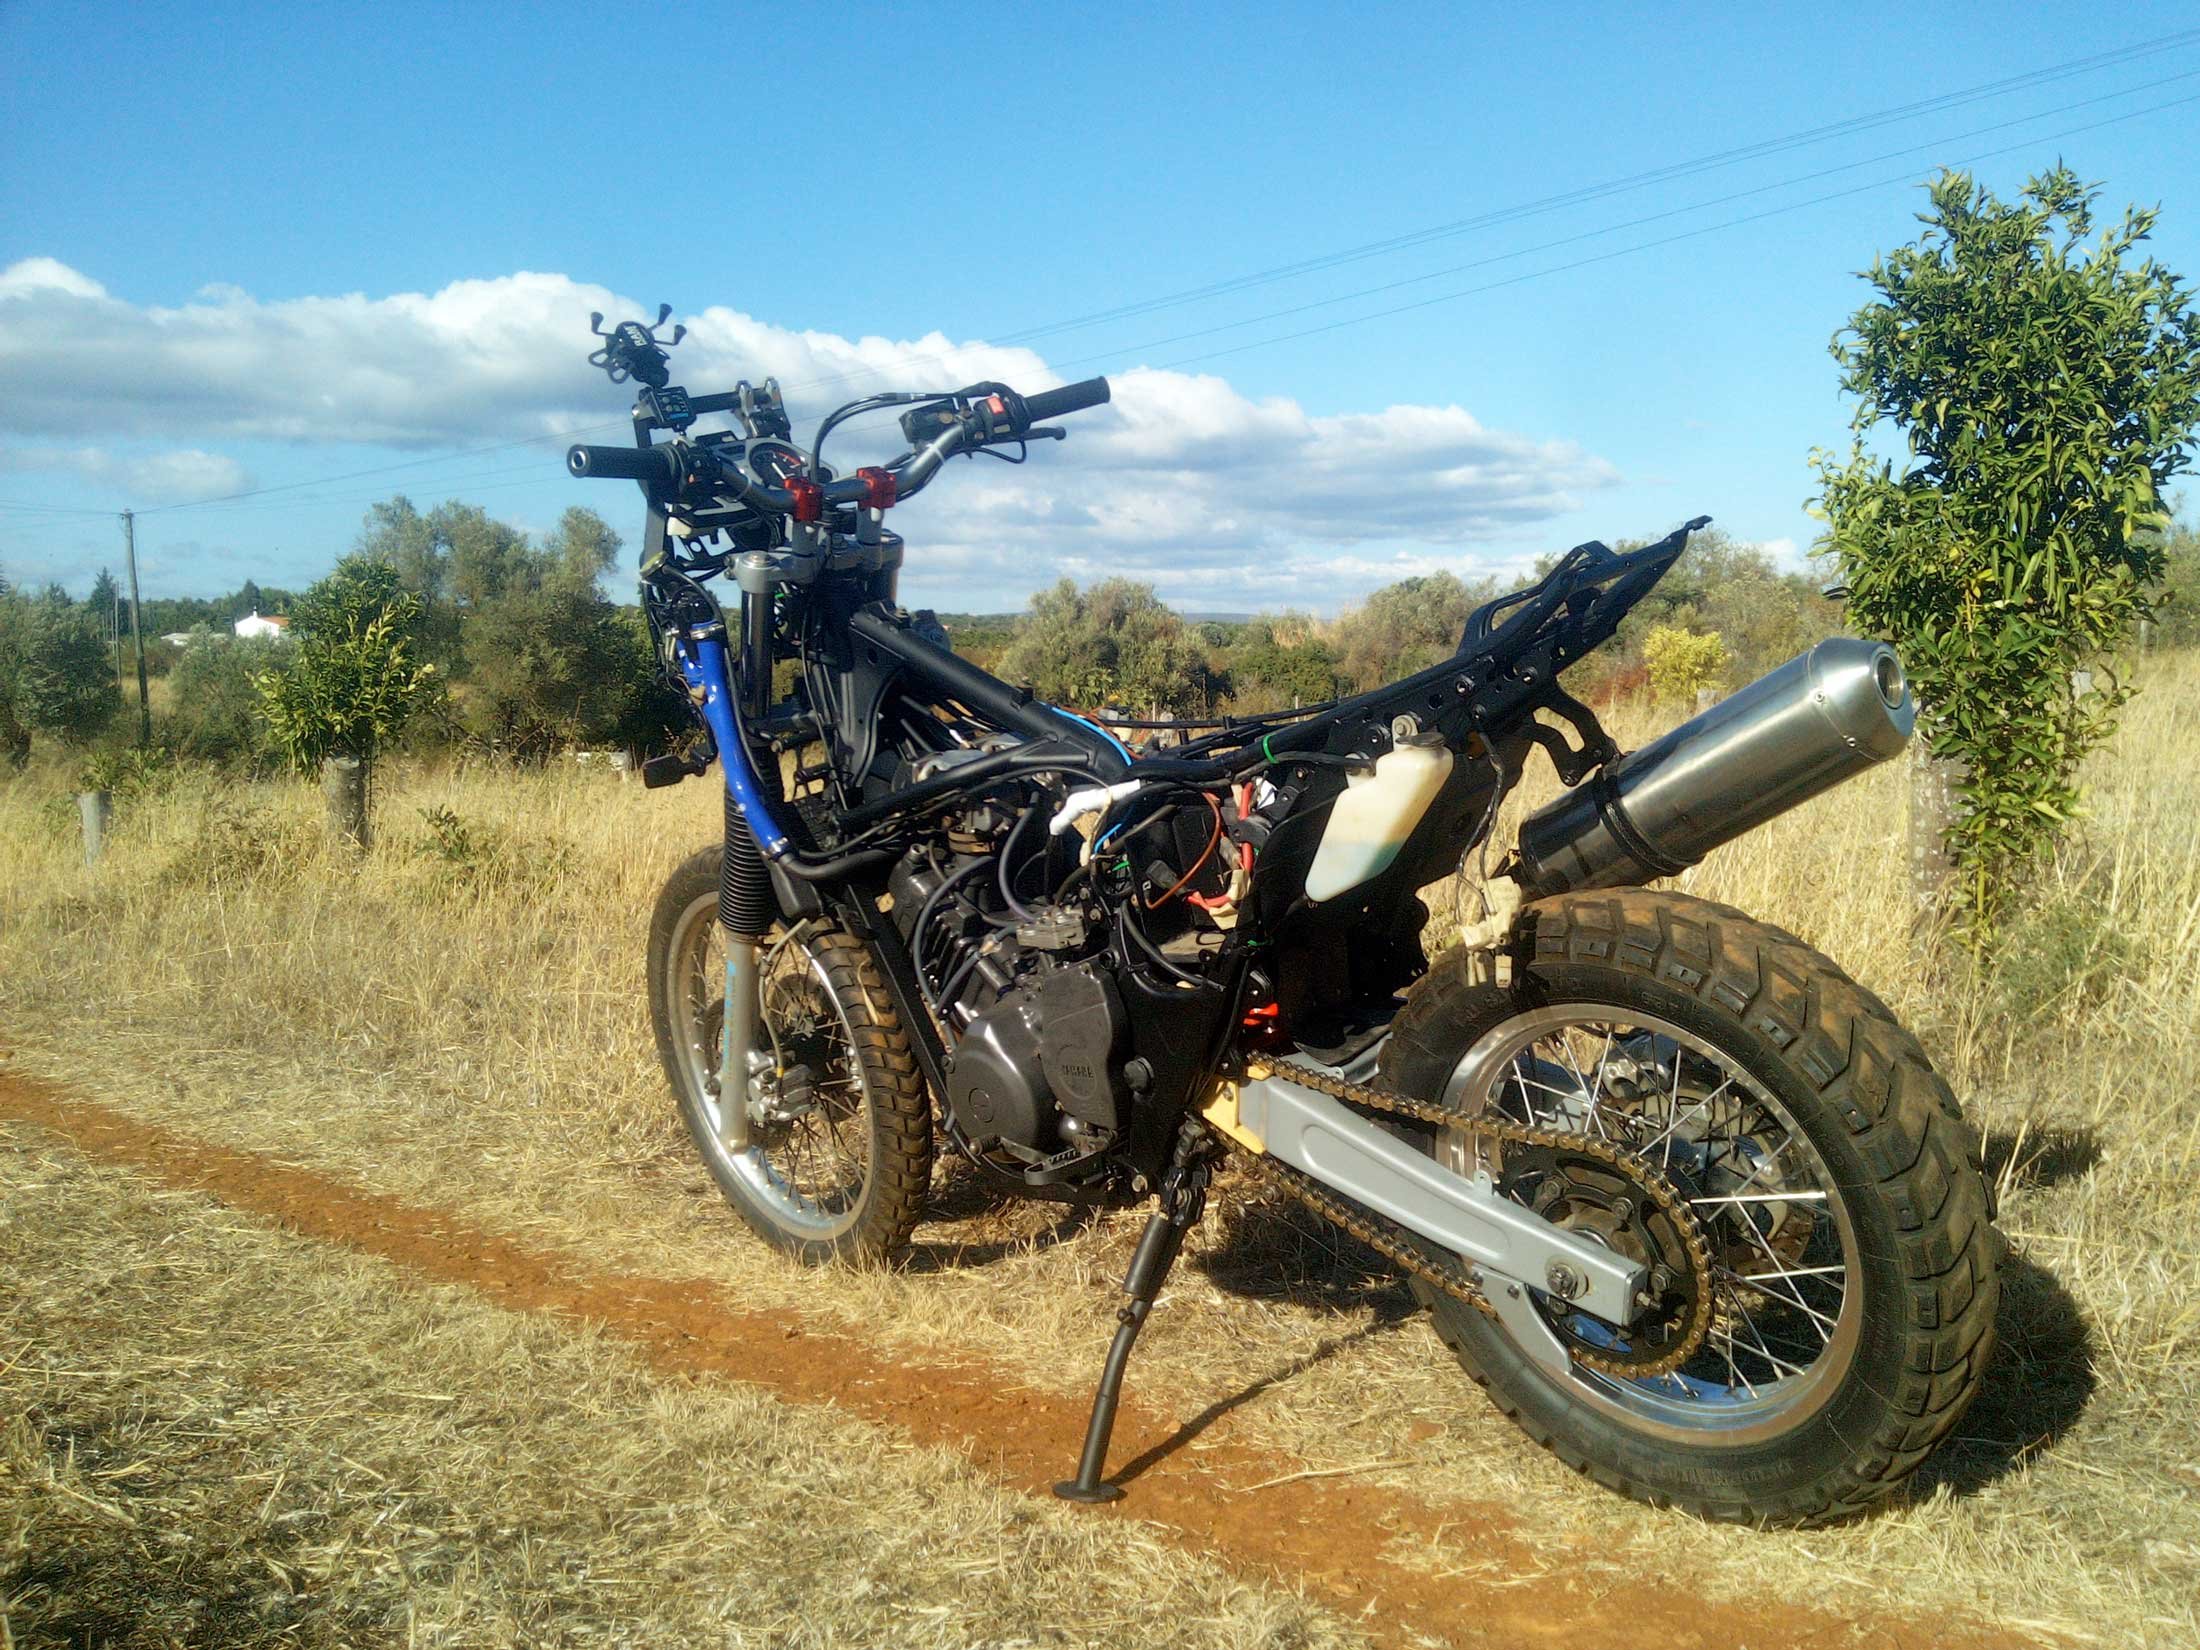
Once the mock up was complete next came the strip down. This part actually took longer than I thought. I made the mistake in my younger years when taking on a similar project with my mates of tearing the bike apart thinking I would remember where every part goes and every route a cable or wire takes, let alone where every nut and bolt came from.
Of course back then we had no clue. I wasn’t making that mistake again! Photos were taken and notes were made. Every part was labelled including nuts and bolts. The wiring loom was removed from the bike with every plug and socket labelled.


The
Strip Down
I did this nice and slowly over a week or so. I was already very familiar with where everything was located on the bike due to the years previous but still took my time. During this time I went shopping online :). To go with the bikes more modern style I ordered some L.E.D headlights and a custom made bracket to hold them, some heated grips, Samco silicone radiator hose kit, stainless steel braided brake lines, throttle cables, digital voltage meter, L.E.D number plate lights, full set of smaller turn signals, headset bearings, swing arm bearings, seals for the suspension linkages, chain and sprocket kit, handlebar risers that also convert to 28mm bars, new number plate, and I’m sure there are more bits and bobs that I cant remember.
Cleaning
Once the bike was totally in pieces the boring bit came, cleaning everything! You can only imagine the build up of dirt in the hard to get to places.
All the parts that were going for powder coating had to be extra clean. The frame was extra filthy!
Once clean, sacrificial pieces of stud needed to be screwed into everywhere there was a thread, otherwise the paint will fill the treads. Once painted these studs will be removed leaving a clean thread. The list of parts for powder coating is the frame, front sub frame, Crash bars, pannier and top rack and new nav bar all in black. The swing arm, top and bottom yokes and exhaust heat shield in silver.
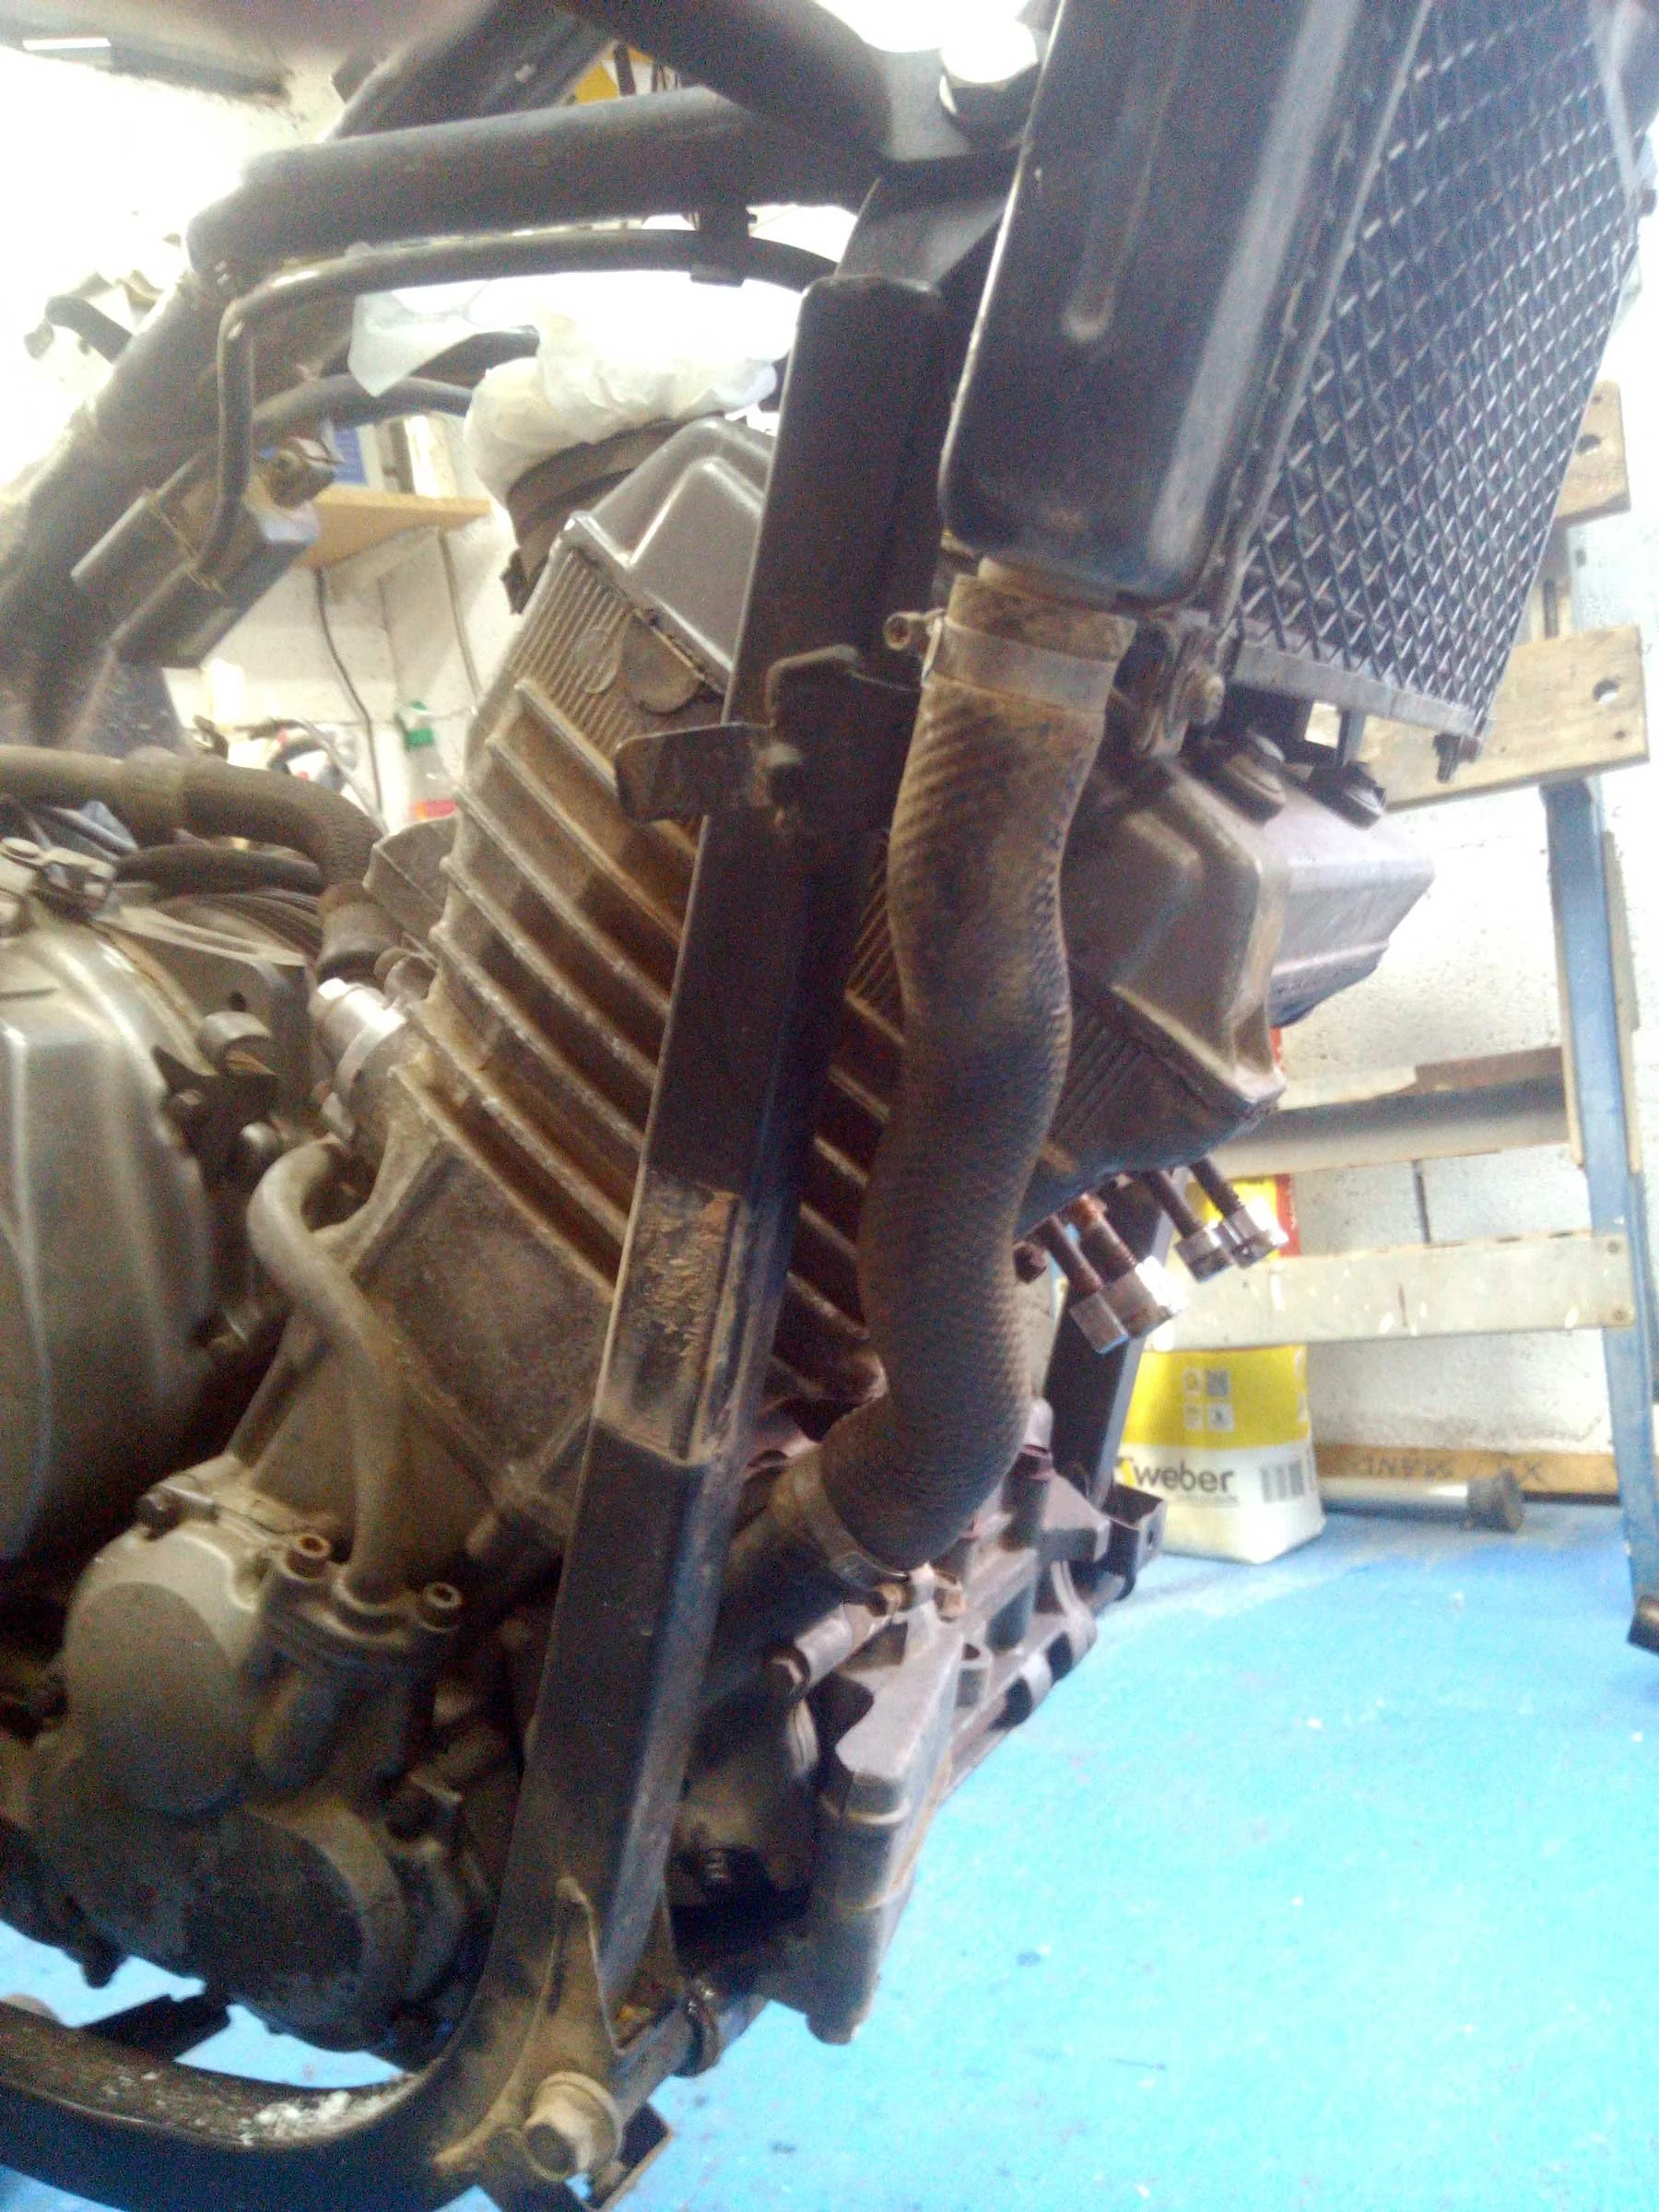
More Cleaning
While the parts were all off at the powder coaters I could get on with giving the engine a good clean. As I had already drained the oil and coolant from the motor and I knew it was in good shape before I started the project, I made a temporary bench at the end of my workshop and put the engine on it. I plugged up any whole I didn’t want any cleaning chemicals to go in and started scrubbing. Degreasers, washing up liquid, wire brush, petrol, scrappers and sand paper were all used in the prep for a new coat of paint. A few days later I was ready. I used a BBQ paint as there are more choices in colours and then a clear engine paint over the top. I’m very happy with the result but time will tell how long it lasts. At the end of the day it looks 100 times better now.


The
Fun Begins!
Now my parts from the powder coaters has come back, and the fun part starts! I start by strapping the engine to a large chunk of wood on casters I have. This is something I made for occasions when I have a bike without its wheels for a long time, makes it very easy to move the bike in all directions if I want it out of the way for other jobs.
Once the engine was firmly strapped down I was able to lower the frame over the top so I can fit some engine mounting bolts. My first target is to get the engine in the frame and the frame on its wheels. So next was the swing arm and rear suspension. This meant fitting new swing arm bearings with seals and repacking the suspension linkage needle bearings.
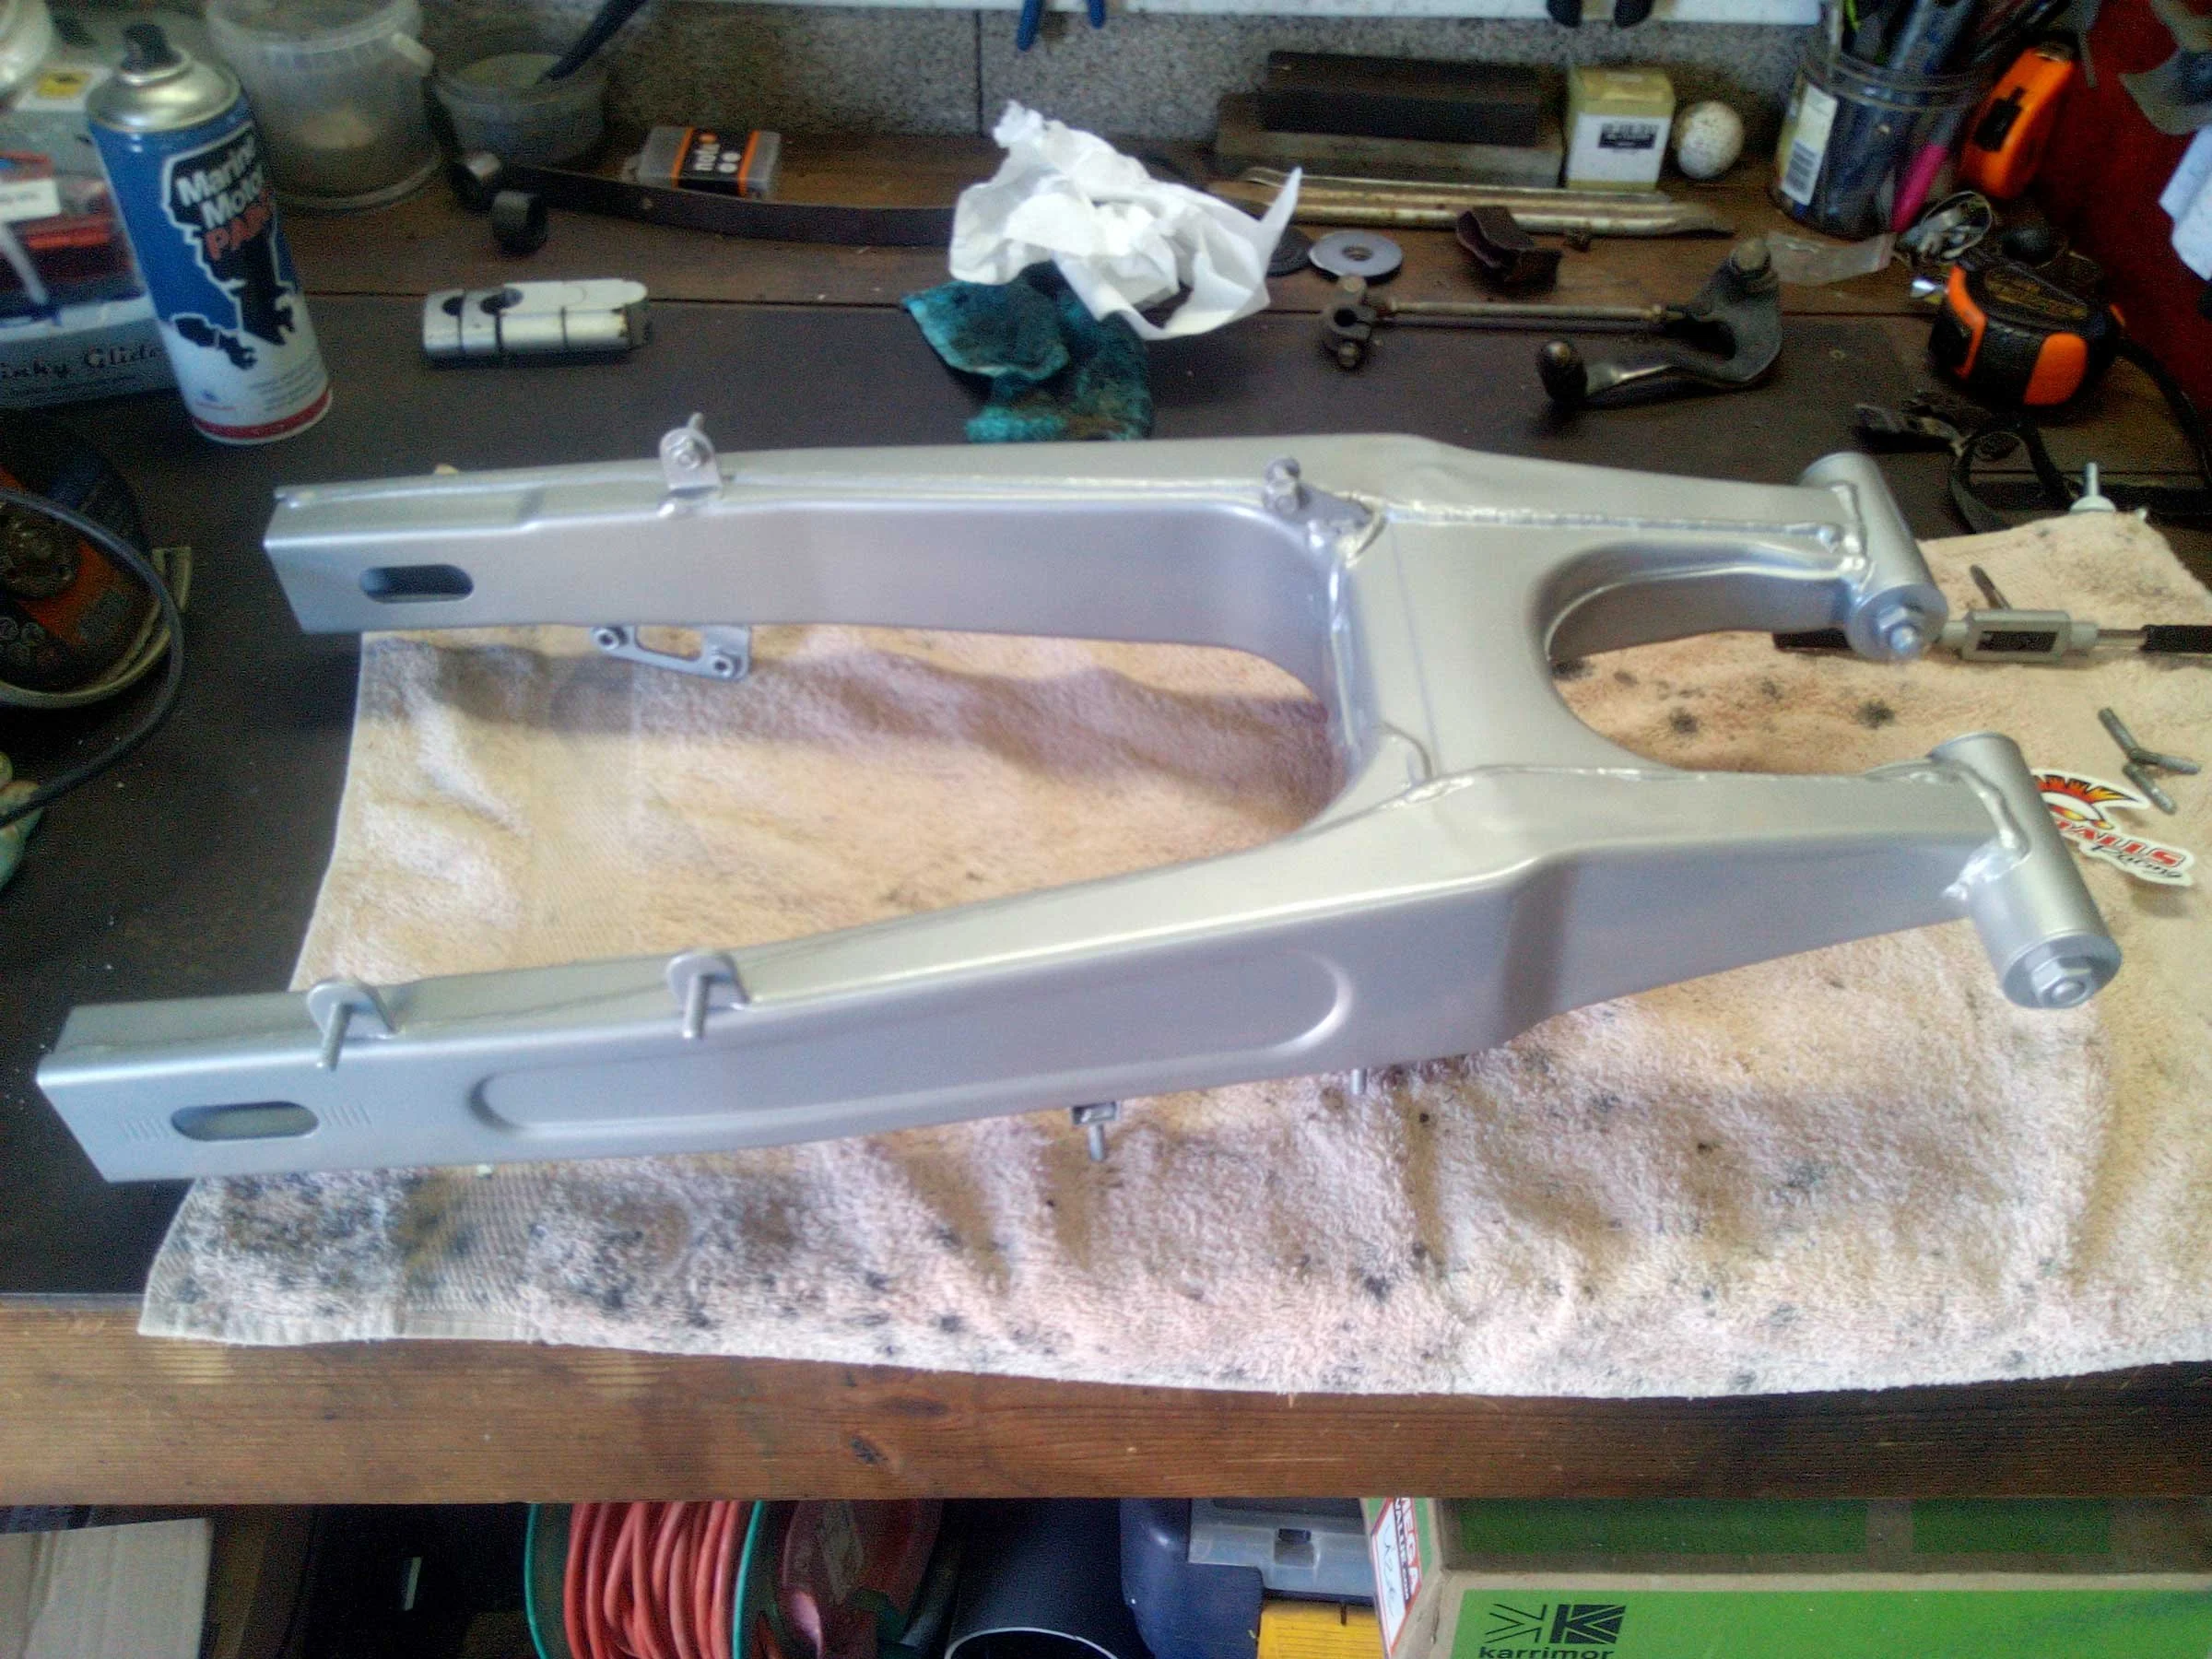
The
Swing Arm
While fitting the swing arm I found that some of the holes on the frame had a fair bit of new paint built up, meaning that the precision suspension linkage bolts wouldn’t pass. Unfortunately, some of these holes were very difficult to access. With a very slow process of filing out the holes with a very modified round file. Now time to fit the new headset bearings so I can work towards getting the front forks on. The lower headset bearing is not an easy one to fit as it needs to be driven down the stem head. Remember to put the seal on first because the bearing is not easy to remove. For this I needed to find a piece of steel tube that fits over the stemhead but makes contact with the bearing in a strong place, this way you can tap the bearing down into place in an even manner. Now it’s a simple job of fitting the yokes to the frame. Then the fork legs in with their new gaiters and now Im able to get wheels on her.


The
Wiring
Loom
Once the bike is rolling I can start fitting the wiring loom and all the other components that attach to the loom. Luckily I did a good job of labelling everything before I dismantled the bike. Although I keep everything loose at this moment because until I have the handlebars on, I don’t know how much slack I need either way on the handlebar controls. I also have a new idea for the power supply for the additional electronics. Originally, when I fitted, for example, a 12v socket, I would wire it straight to the battery. Now if you have 3 or 4 additional electronics, this can be too much for the poor old battery terminals. So my idea was to take a + and – from the battery in 4mm cable to a junction box at the front of the bike via a hidden switch (so I’m able to isolate all the extras) and a fuse holder. This way the 12v socket, heated grips and 12v voltage meter and more can be fitted without running everything to the battery.
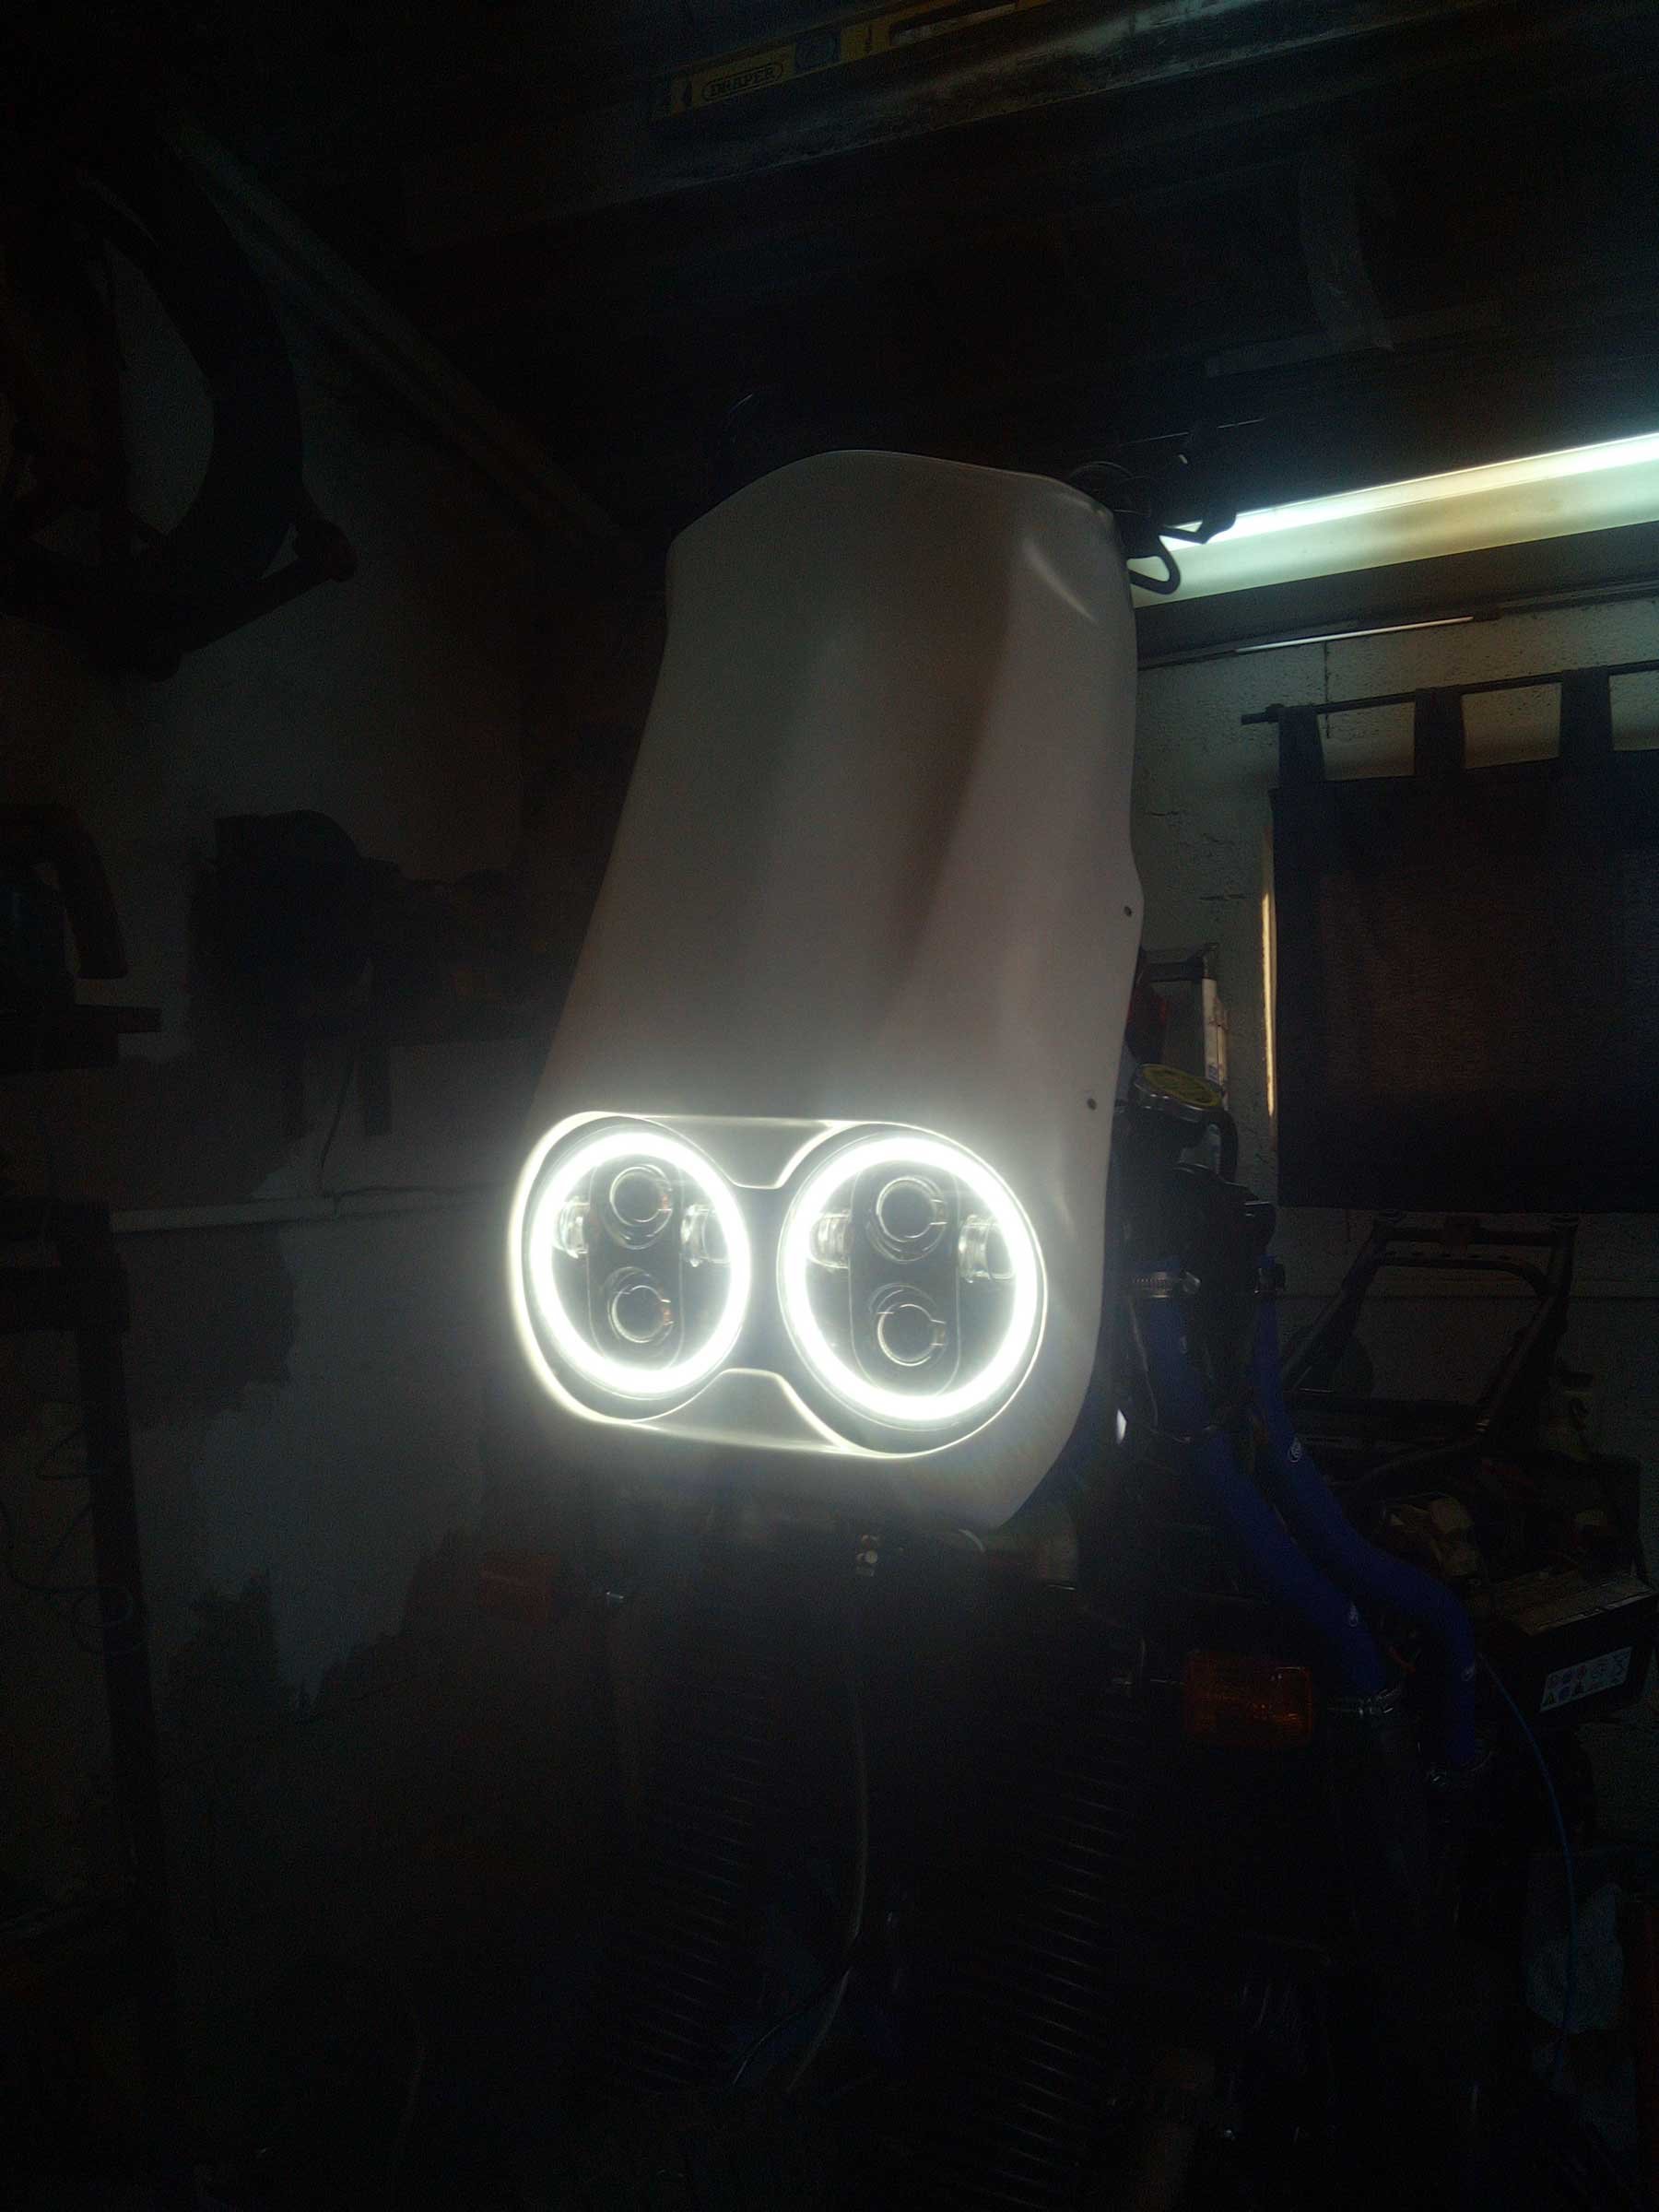
The next little job with the electrics is to get the new aftermarket headlights working. The 5.75 inch sealed units come with a standard H4 plug. The problem is the Super Tenere has twin headlights, one of which does low beam and high beam in one and the other light has just a high beam. The new units both have high beam and low beam, so some rewiring was needed.


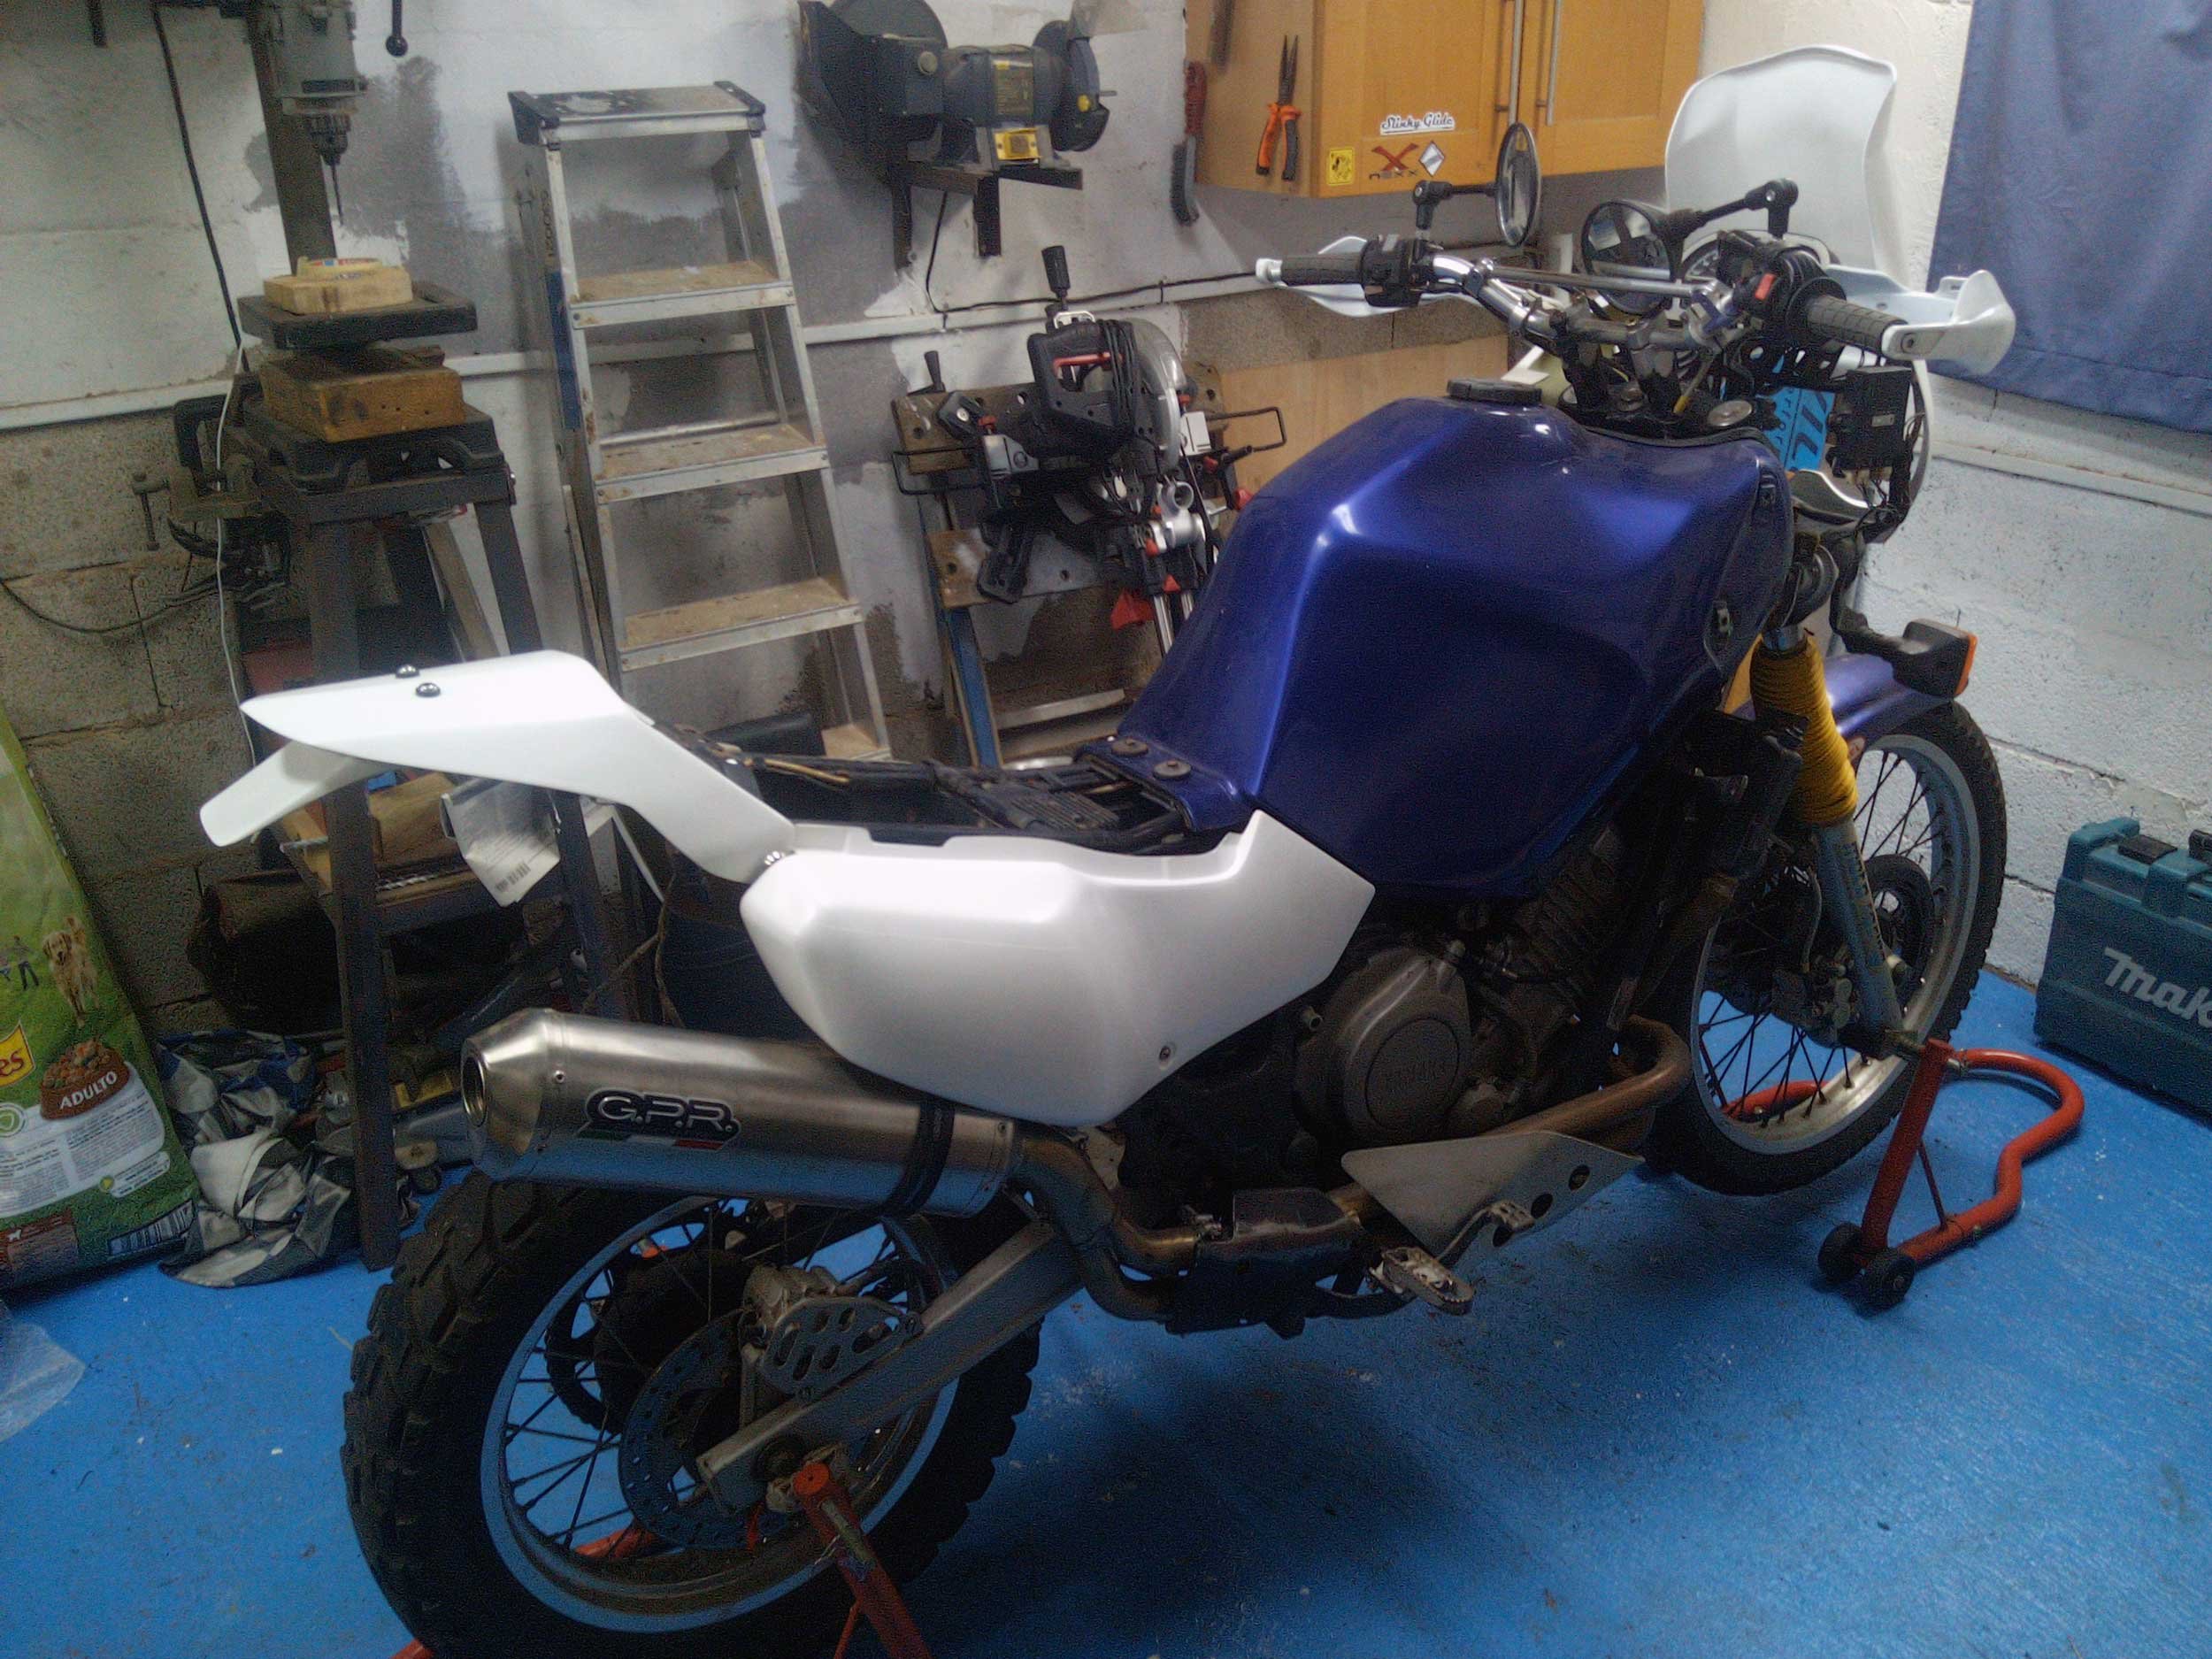
Final
Stage
Now with the electronics done its time to get all the other bits bolted on, oil tank, radiator hoses, exhaust and so on. The bike is starting to come together at last. Next I can start getting some fluids into her, oil and coolant.
I need to start thinking about the new fibreglass bodywork. I´ve decided to paint the bike myself. I’ve found a supplier of the paint and within a few days, a coat of primer is on and ready for the topcoat of blue.
Unfortunately, I’m not much good at spraying (this being my first time) so the paint job didn’t come out too good. Still….its blue and that’s what my documents say and that’s what counts, and I have to remember this is a work horse, not a fancy restoration.


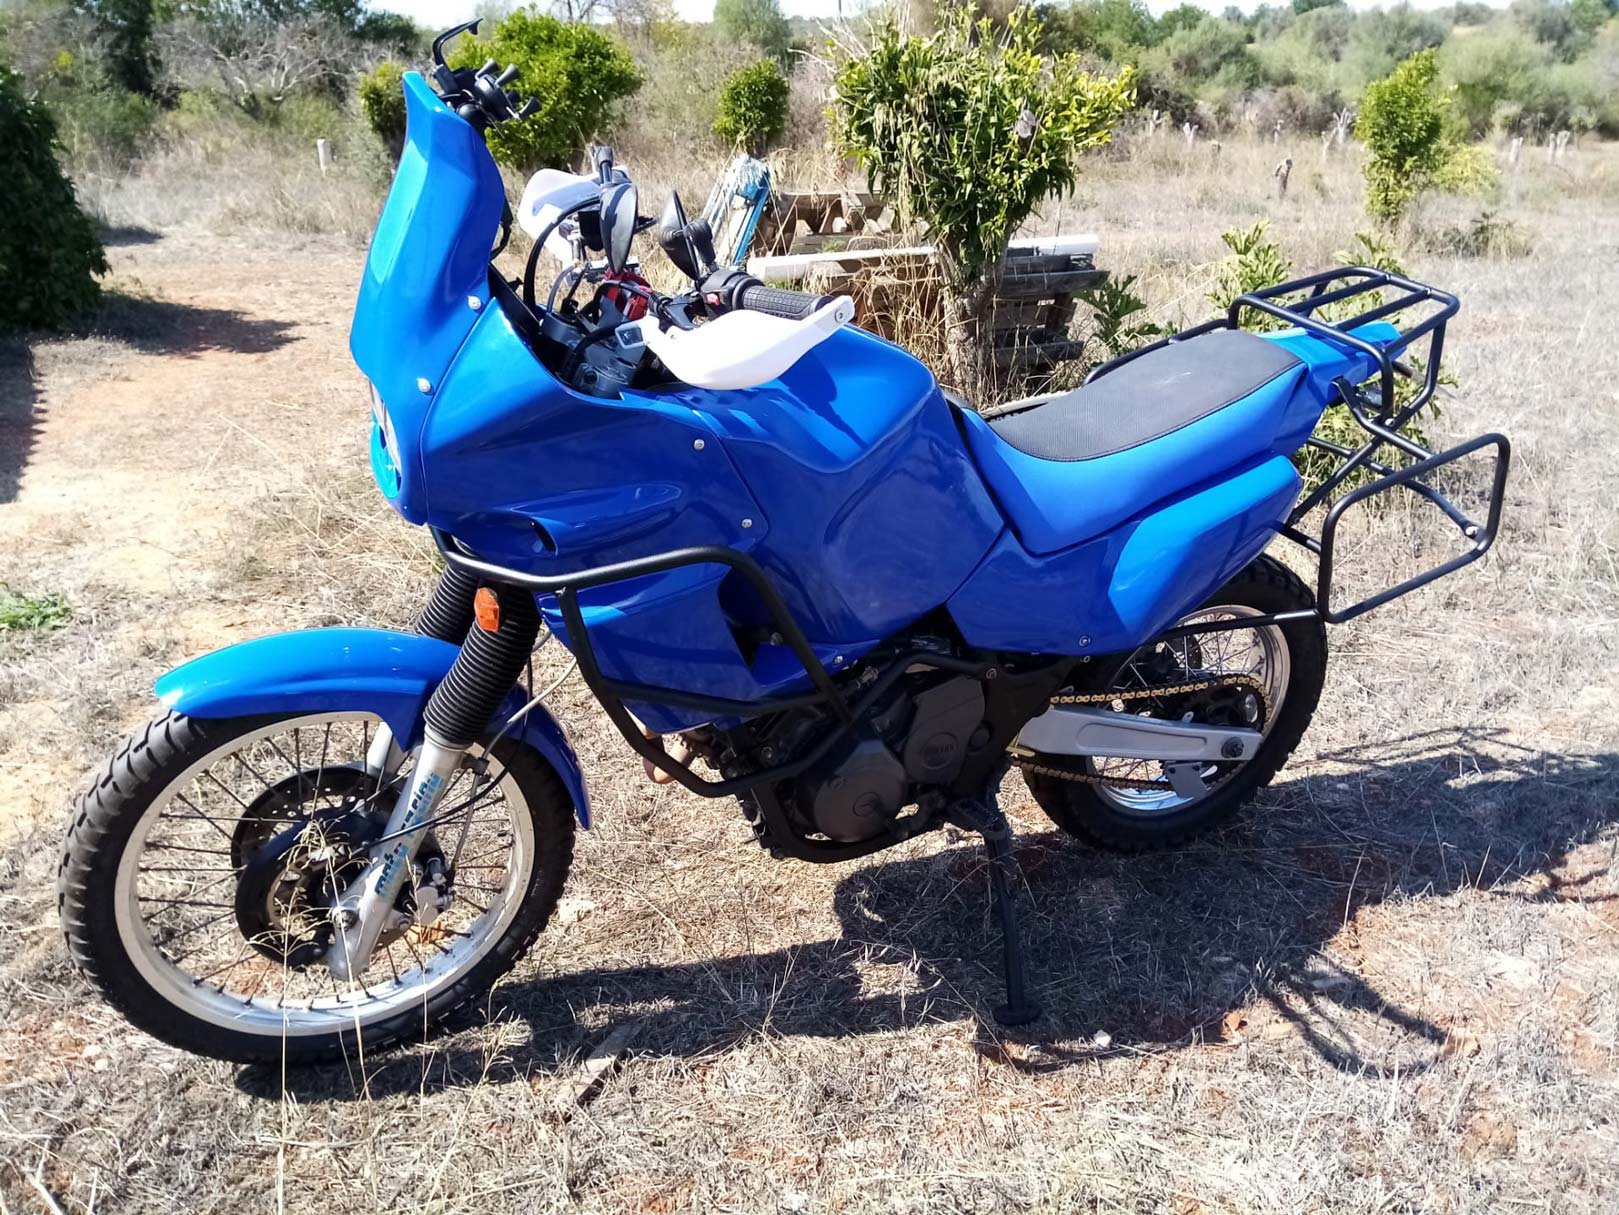
So the
Bike is Done
After some 1000kms worth of test riding I found the right hand cylinder was running a little rich (too much fuel) causing misfires and poor running, but after some carb adjustments I think I have it.
So the bike is done, ready for the next 75000km I hope.